Mini-Split
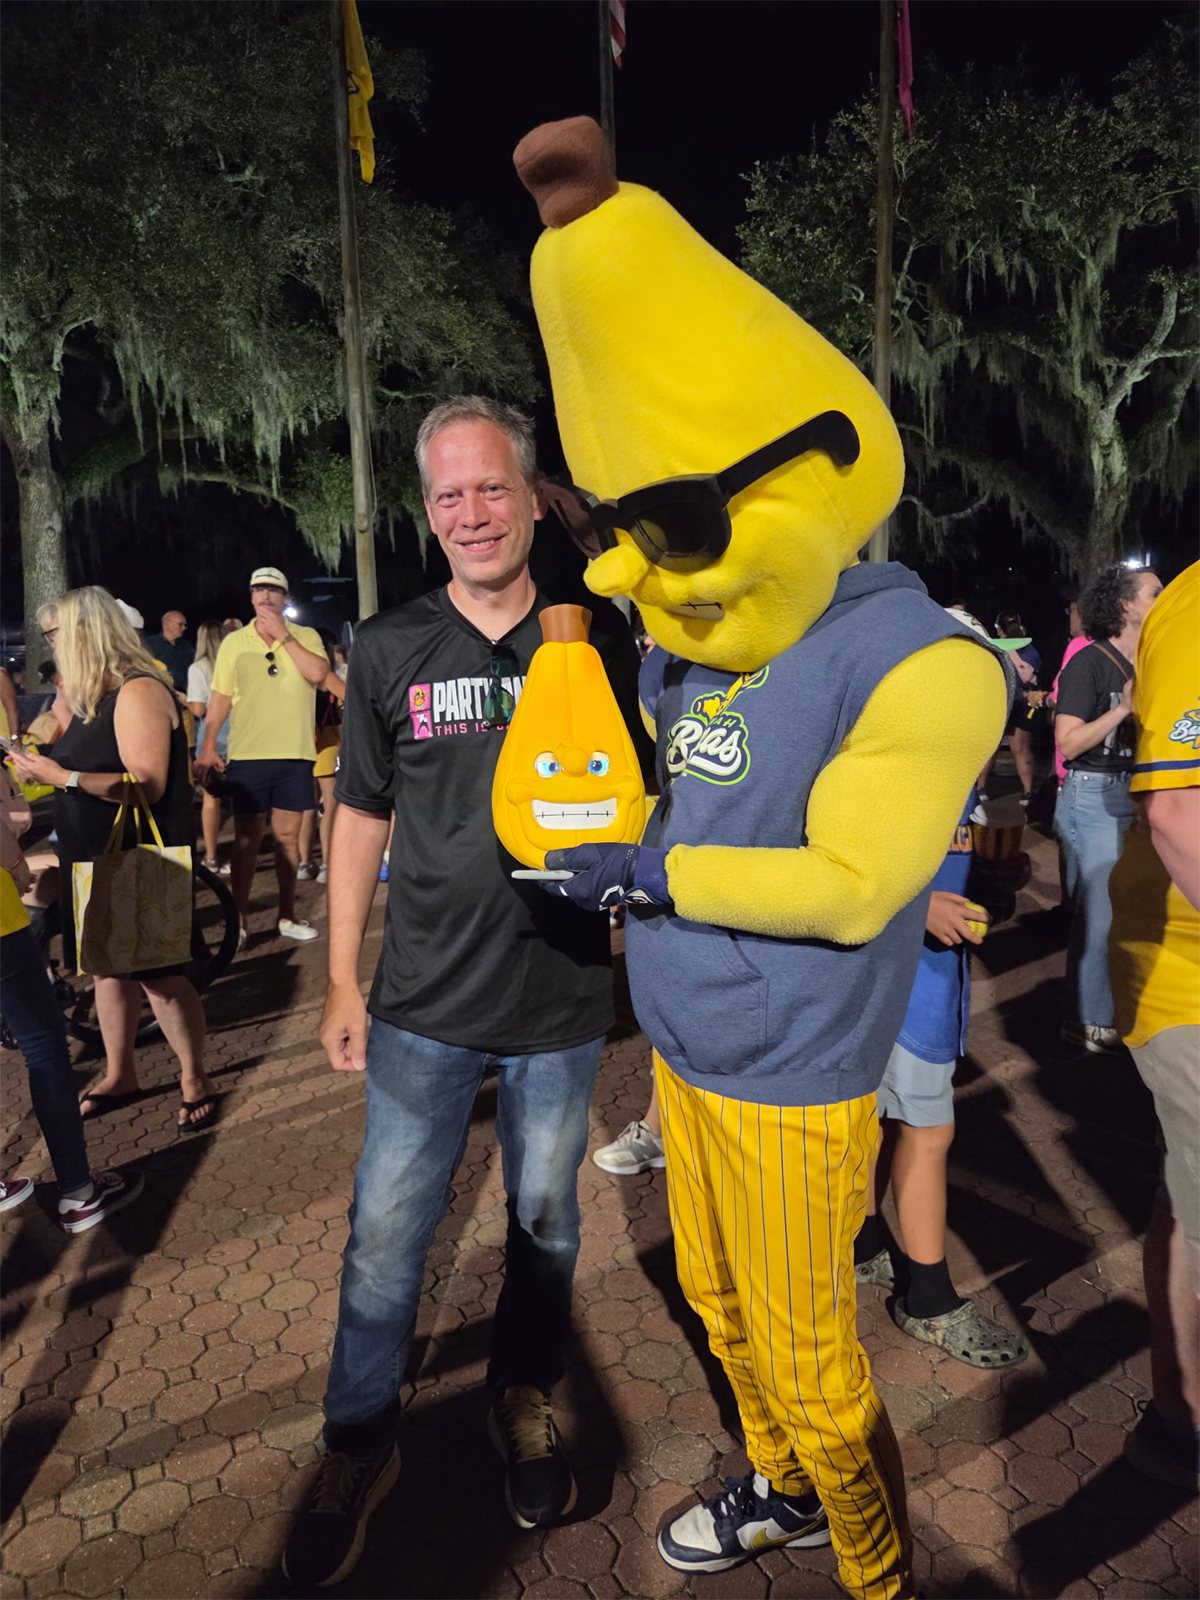
Building mini-Split: a four-part, multicolor 3D print with battery-powered Adafruit MONSTER M4SK eyes.
How It Started
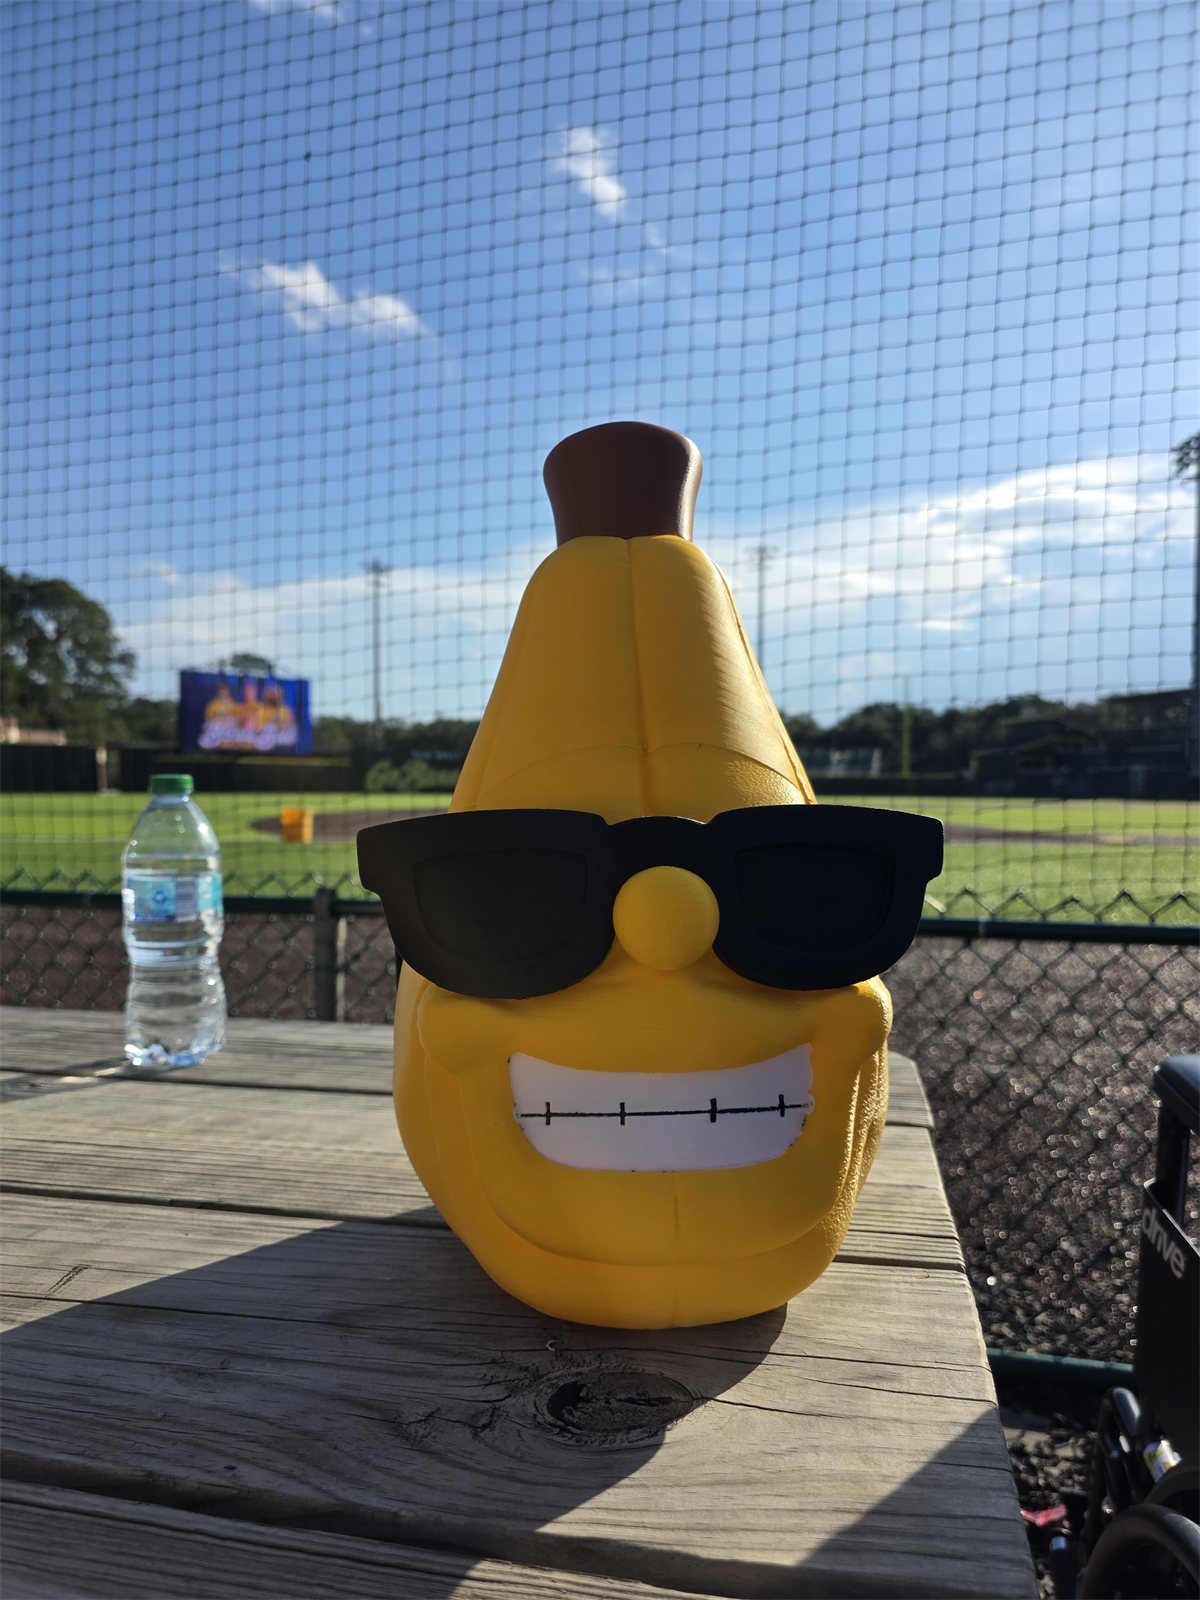
What started as normal fan stuff (going to games, hunting down autographs, and buying way too much merch) completely spiraled out of control after the Bananaland at Sea cruise.
It all kicked off when I 3D-printed over a hundred banana clickers and randomly hid them around the ship like a festive cruise menace. Since then, I haven't been able to stop making custom Banana Ball creations to bring to games, including Lego minifigures of Split and Bo, plus a whole workbench full of half-baked ideas.
But today, I'm talking about mini-Split.
Starting the 3D Model
Before any of this could go near a printer, I needed a 3D model. I'm not a 3D modeler. I'm a random hobbyist with big ideas, and this one would've been out of reach without a helping hand.
I created the initial model with Meshy.ai. It gave me a starting point: a shape I could work with instead of having to model the whole character from scratch. That made the project possible for me, but the generated model was nowhere near a finished, ready-to-print head.
Making the Model Work
I had to modify it heavily. That meant making room inside for the electronics and battery, adding brackets to hold the electronics in place, separating the stem and glasses, and splitting the head into its top and bottom sections. I also had to re-texture the model. All of that work happened after the initial generation.
Getting something that looked like Split was the beginning. Making it work as a physical object, with electronics inside and separate parts that could be printed and assembled, took a lot more work. I wouldn't want to give the impression that Meshy produced this finished build at the push of a button. It got me past the blank screen and gave me something to start modifying.
Check out Meshy.ai's $1 offer if you're interested. Check the current offer and terms on their site before signing up.
Printing Mini-Split
He's large for a consumer 3D print. Calling him mini makes more sense when you're comparing him to Split than when you're figuring out how to carry him to a game.
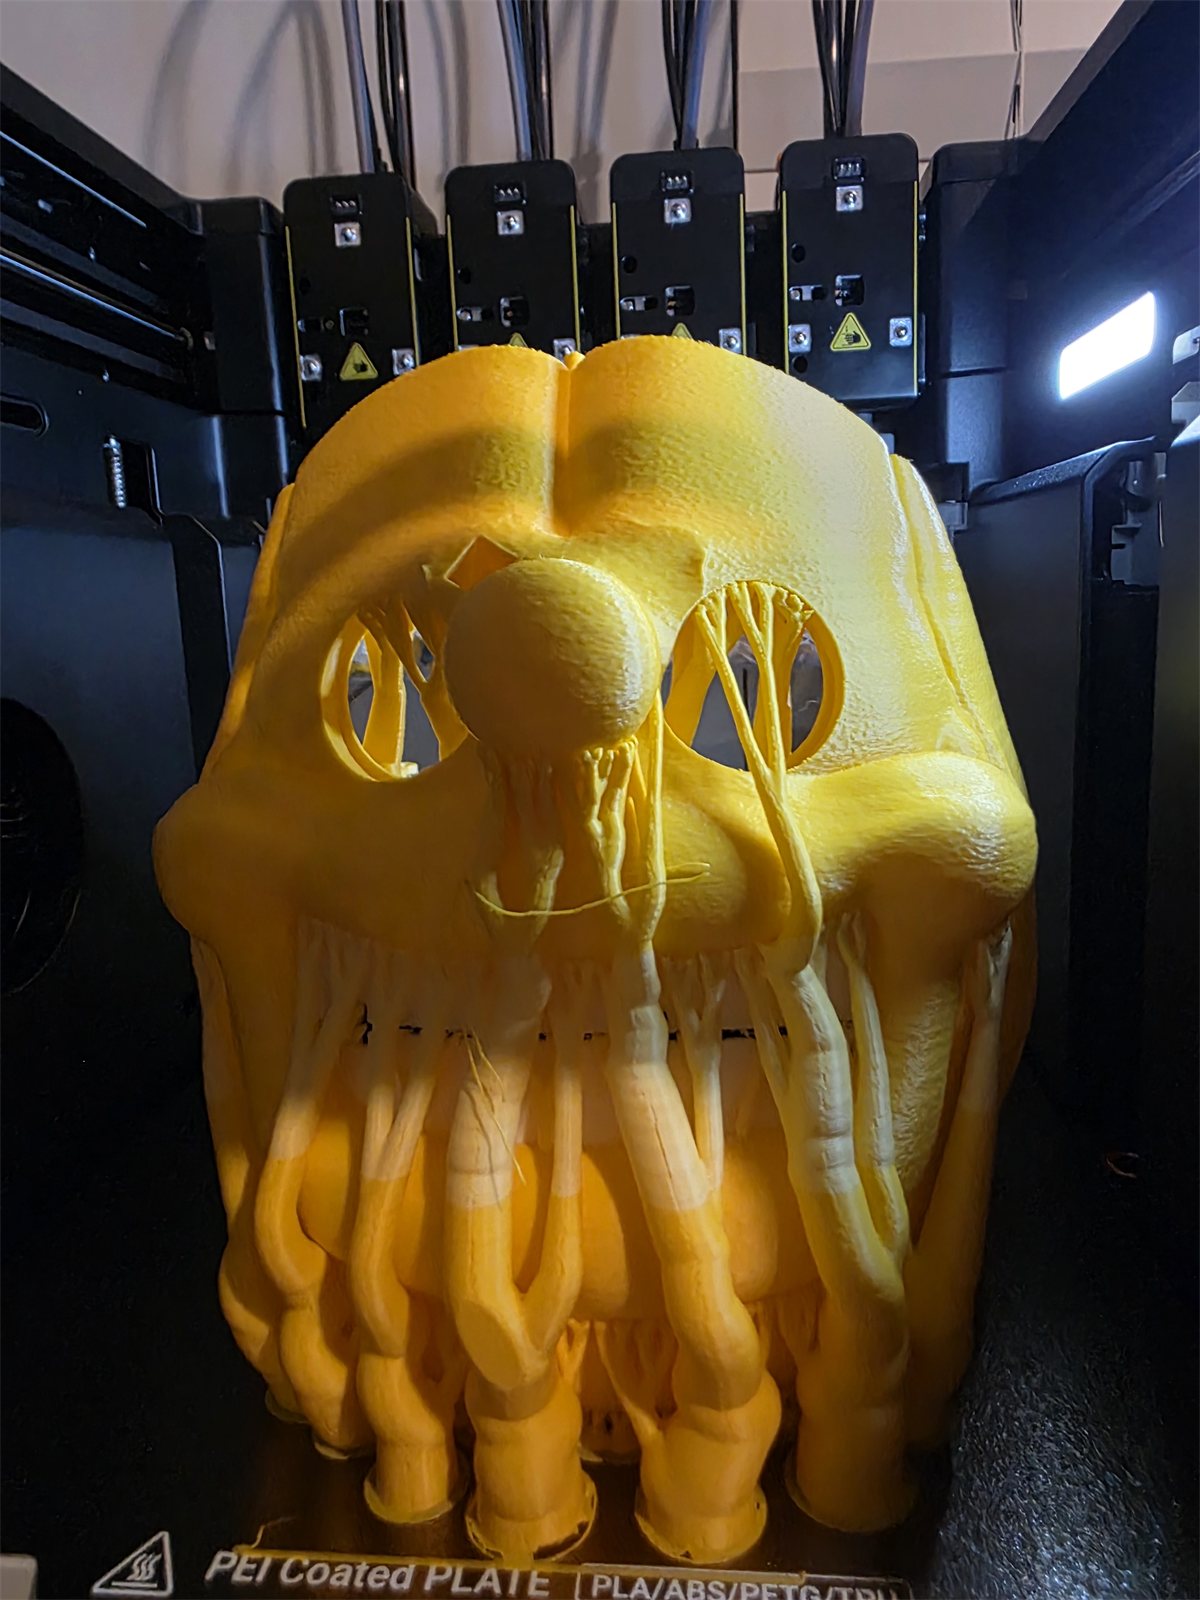
The head is printed in four parts: the stem, the glasses, the top half of the head, and the bottom half. The two head sections give me access to the electronics inside.
I use a Snapmaker U1, which has four independent nozzles. The entire model uses just four colors: brown, black, white, and yellow. Each color gets its own nozzle, letting me print all four colors with limited waste.
Printing took days. It would've taken even more days on a printer without the U1's four independent nozzles. Even with that setup, this was a large print that kept the printer busy for a while.
The parts came off the printer in color, so there was no sanding, filling seams, or painting involved in this build.
The Eyes and Electronics
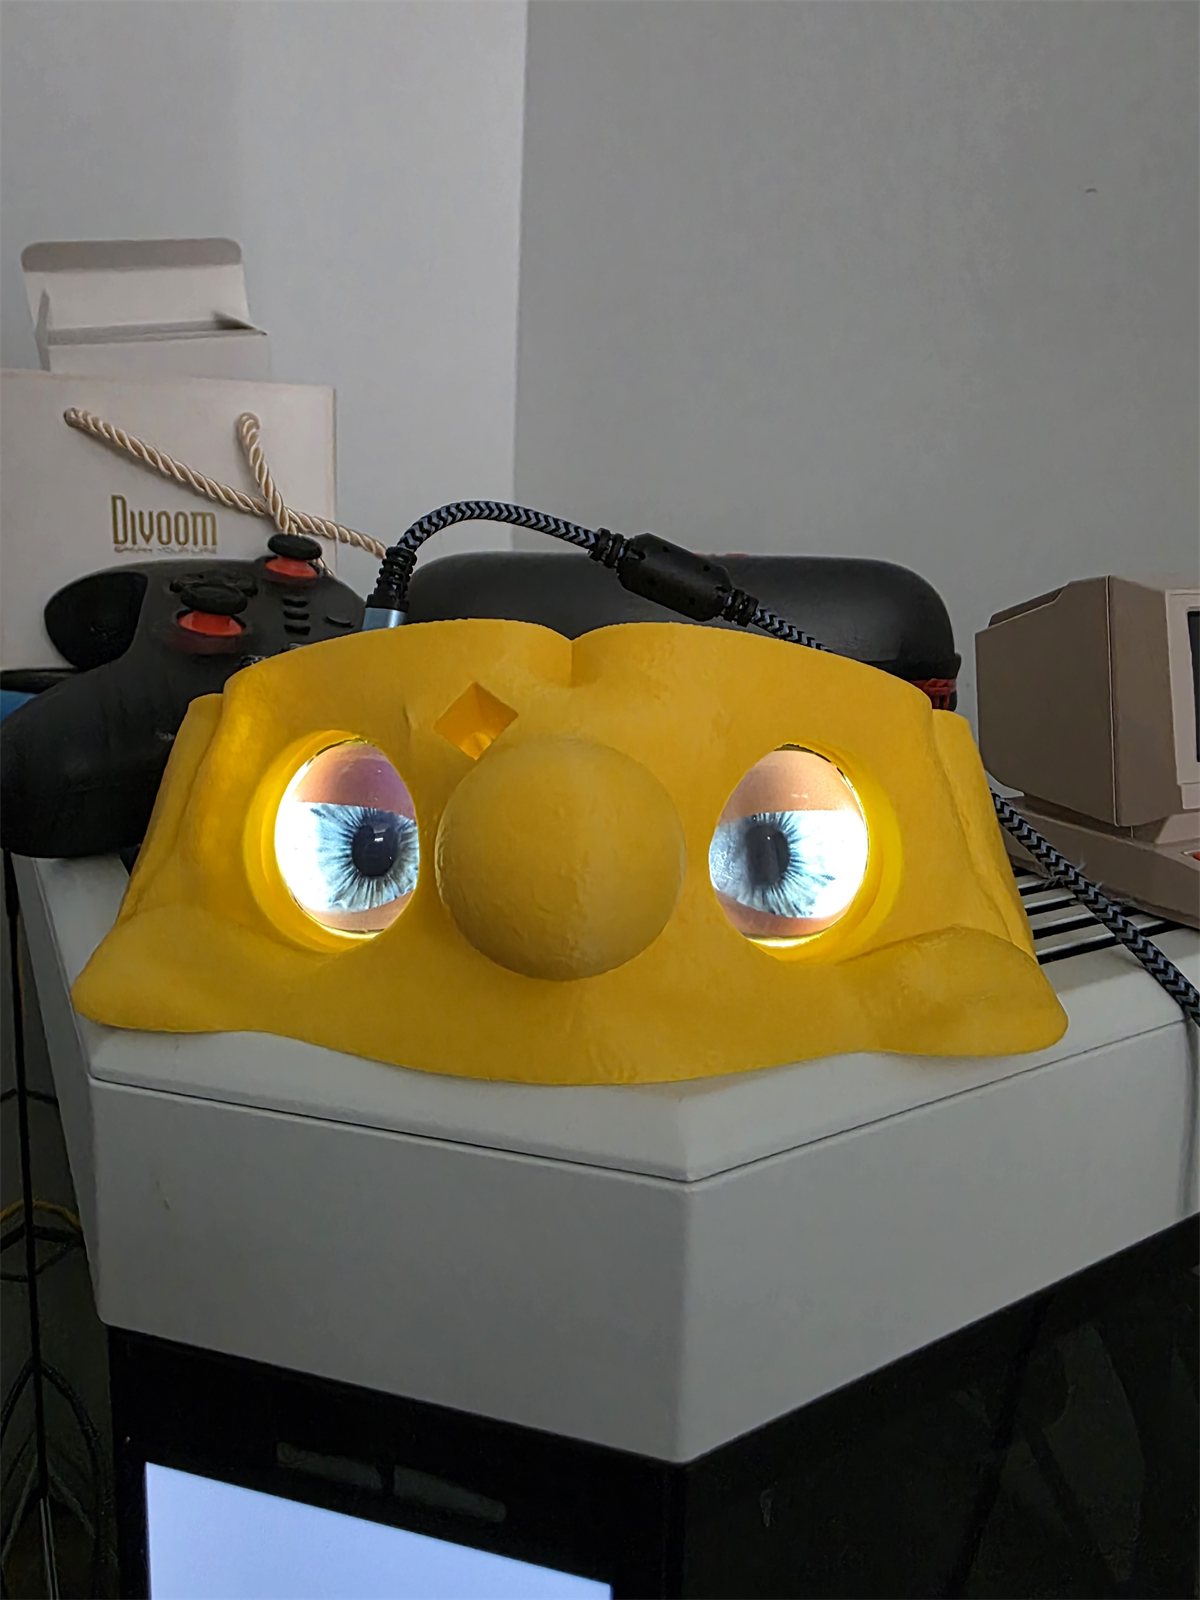
The eyes use an Adafruit MONSTER M4SK, powered by a small battery. It's a pretty cool piece of technology: two little screens display animated eyes, with the electronics to run them on the board. It gives mini-Split some expression without needing a full computer tucked inside the head.
This image is of a small portion of the head; testing before printing the whole.

Product photo: Adafruit. Click the image to see the board on their site.
Adafruit currently lists the MONSTER M4SK as out of stock. I don't know when, or whether, more will be available, so check the product page before planning a build around one. There are other options, though. I'm putting together a Pharty head write-up to cover an alternative to the MONSTER M4SK.
Convex Glass Lenses
Each eye has a convex glass lens in front of the display. The curved glass gives the eyes a rounded feel instead of leaving them looking like flat screens. I use the same approach on Pharty: one glass lens for each eye.

Reference photo: Adafruit's 40 mm glass lens. This illustrates the lens type, not my exact size or supplier.
What I'd Change Next
For the next version, I'd like a better way to carry mini-Split around at games. The size is manageable on a workbench, but bringing him along with merch and things to get autographed needs a little more thought.
I also want a better system for securing the top and bottom halves of the head together. His name is Split, but I'd prefer that to stay a name rather than something he does on the way to my seat.